TEL: +1 608-238-6001 Email: greg@cruisingreview.com
United PlusPoints and Upgrading PlusPoints on United are Useless... plan a upgrade strategy without them... Sorry 1K Status Peeps... More Info
Bemer PEMF Device Review and Experience Bemer Therapy System Evo: New as of April 2024 and updated on 28 August, 2024... Does Bemer help with long flights, post covid, and circulation ? More Info
DIY Skin Cream Make skin cream at home using natural products. More Info
|
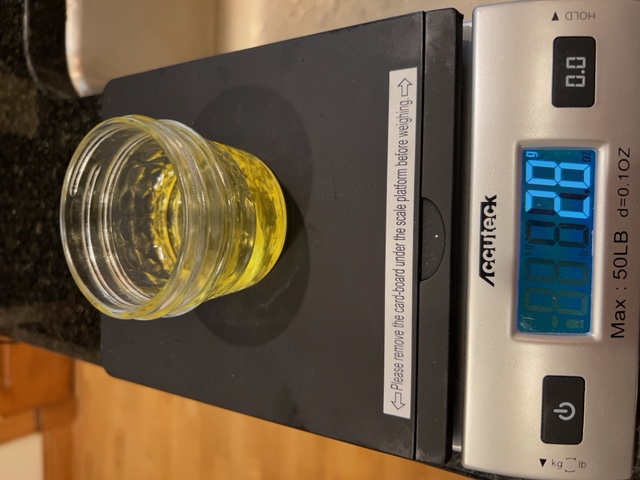
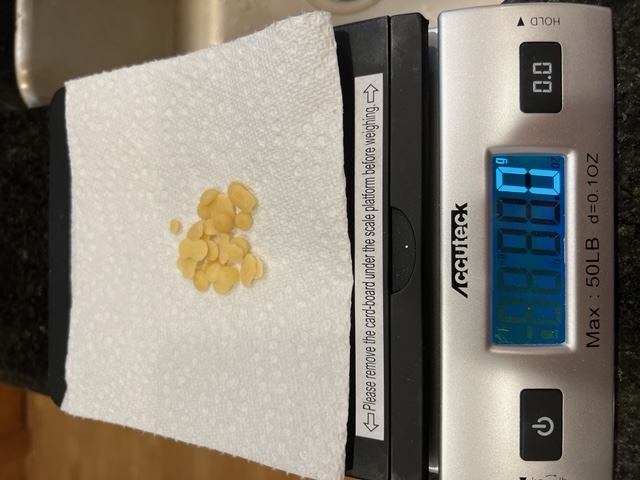
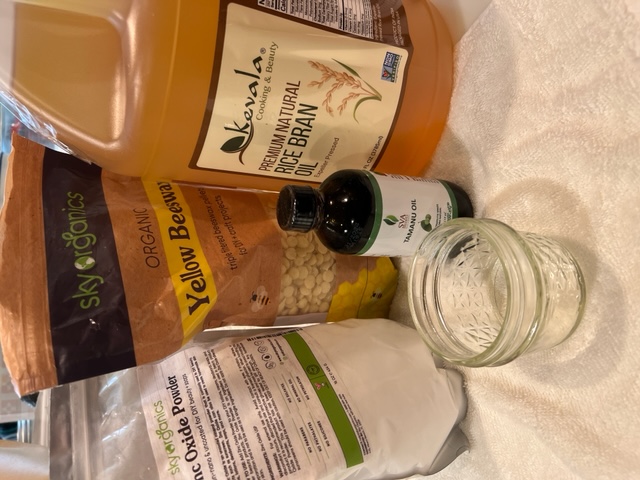
Assemble Ingredients Assemble all the ingredients. The first stage of the process is to melt the bees wax, which is done with a double boiler, or faster in a microwave. Never put any metal (including the magnetic stir bar) in the microwave. Never use an open flame to heat oil or wax. All ingredients can be purchased on Amazon. If you don't have Rice Bran Oil (good source of Vitamin E), you can use more expensive Olive Oil or other vegetable oils. Cold press oils are the best, which preserve the most nutrients.28 grams Rice Bran Oil (1 oz) 28 percent of solution28 grams Organic Tamanu Oil (1 oz) 28 percent of solution42 grams Heated Distilled Water (1.48 oz) 42 percent of solution5 ml Zinc Oxide (1/2 teaspoon) 1-2 percent of solution5 ml Organic Bees Wax (1/2-1 teaspoon) 1-2 percent of solution1 Small Mason Jar1 Magnetic Mixer1 Magnetic Stir BarNote: Add Zinc powder for a rich white creamy texture. The less water makes the solution a bit more oily, but more rich. Tamanu Oil Health Benefits |
|
Measure Oil and Bees Wax In the Mason jar or container, add measure and add the oil, then the bees wax. The bees wax is generally sold in small pellet form. Pro Tip: Less beeswax will make formula more like a liquid, while more wax will result in a creamier, then solid formula. If you add too much wax, you will end up with a salve, instead of a cream, when it cools.Kevala Rice Bran Oil, 1 Gallon, Premium Natural, Expeller Pressed (buy on Amazon) Organic Bees Wax (buy on Amazon) |
|
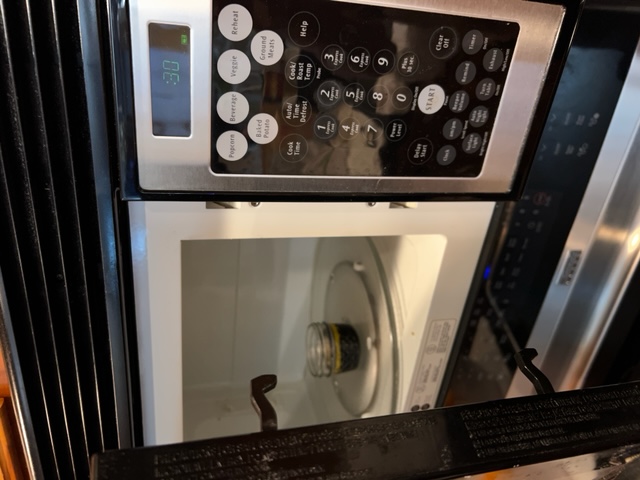
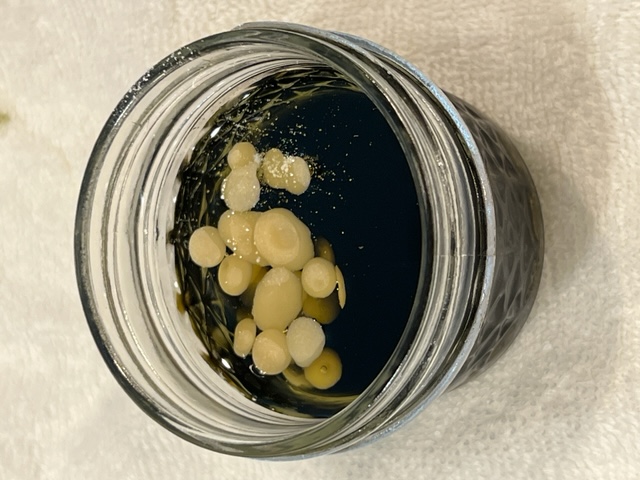
Heat Mixture Until Melted Heat up the mixture in the microwave for 30 seconds. If you have a digital thermometer (I use a laser non contact one), the temperature will be around 130F after first 30 seconds. If the wax is not melted, heat another 30 seconds. After the second dose of heat, the solution will be around 190-223F. You do not want the temperature above this, since the wax melts at a lower temp. Be careful since the glass jar will heat up quickly (very hot to the touch). When the wax is melted, remove from microwave.
|
|
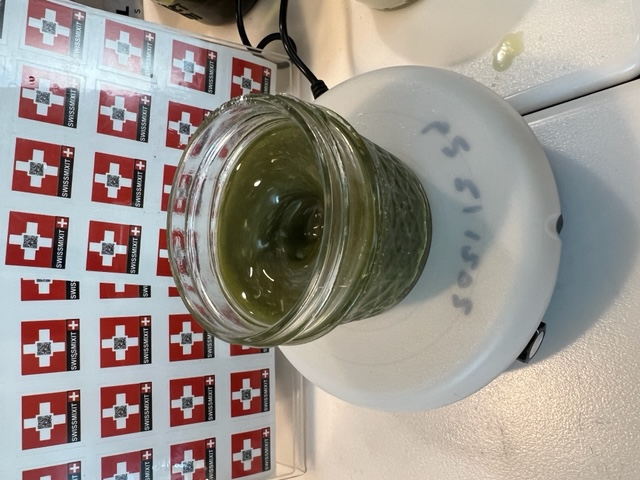
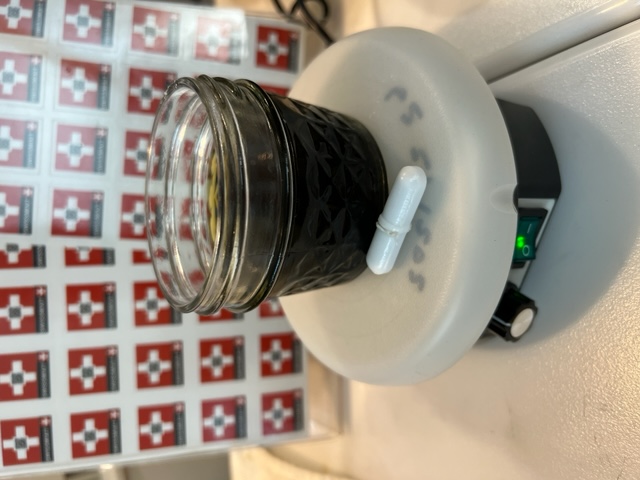
Low Speed Mix Put the jar and solution of heated oil and wax on the magnetic mixer. Carefully place the magnetic stir bar into the jar (try not to splash since the oil is hot). Turn on the mixer on low and as the solution spins up, you will see a small vortex appear. Make sure the solution is mixed and all the bees wax pellets are melted.
|
|
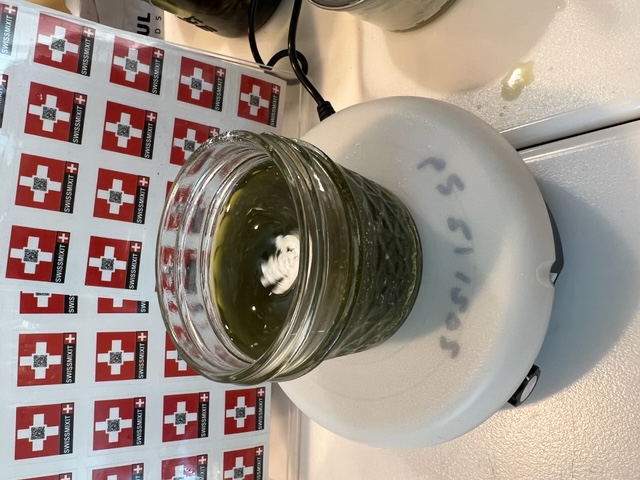
Add Zinc As the solution is spinning with a good vortex (not quite reaching the stir bar), slowly add the Zinc. The Zinc is good for the skin, and makes the solution more creamy. You may leave out the Zinc, if you wish. Let the mixer do the work until the powder is completely dissolved. The dark green mixture will become lighter in appearance. This will take less than three minutes.
|
|
Mix Medium Speed Continue to mix until powder is completely dissolved. Check the temperature (if you have a thermometer) so that it is above 160F and confirm that all the bees wax is melted.
|
|
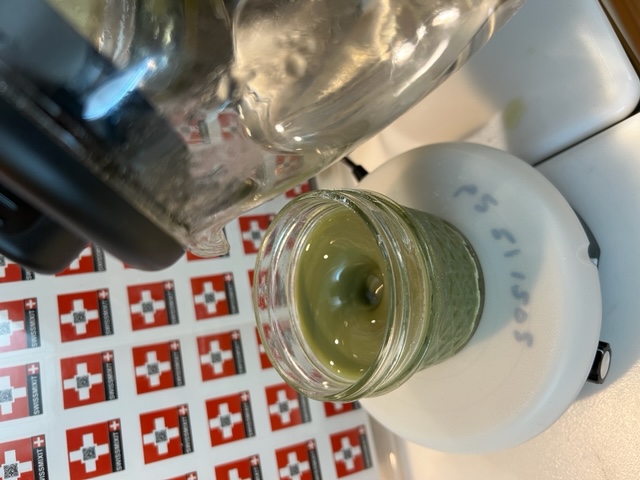
Add Heated Water Slowly add the heated distilled water. It doesn't matter what temperature it is at, as long is it's not cold (which will immediately solidify the wax instead of mixing into a creamy solution).Pro Tip: Increase the mixer speed after adding water.
|
|
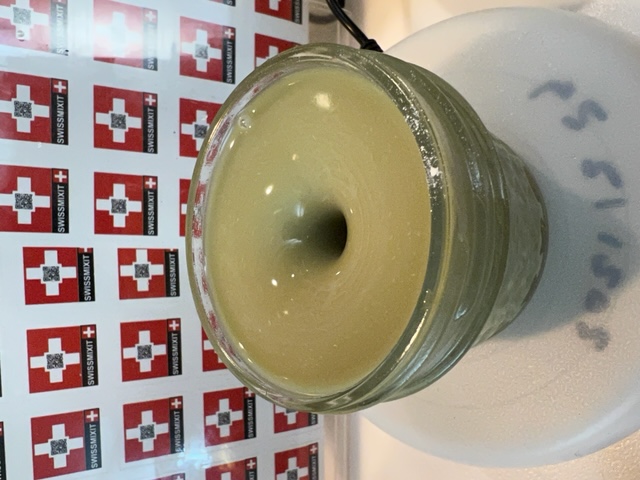
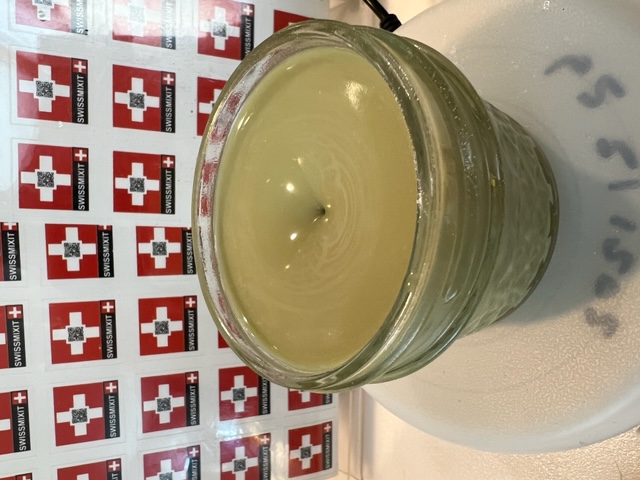
Mix Turn up the mixer speed as the water is mixed with the solution. As the solution cools, the wax will start to solidify, and the entire solution will become less liquid, and the vortex will slowly disappear. Turn up the mixer speed to maintain a good vortex. This stage will take around 20 minutes.
|
|
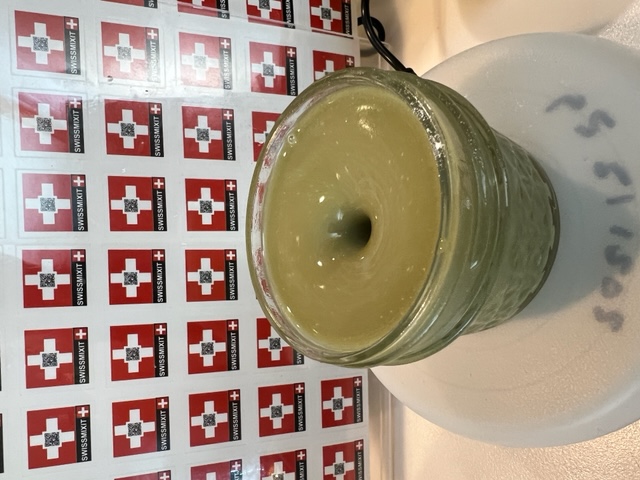
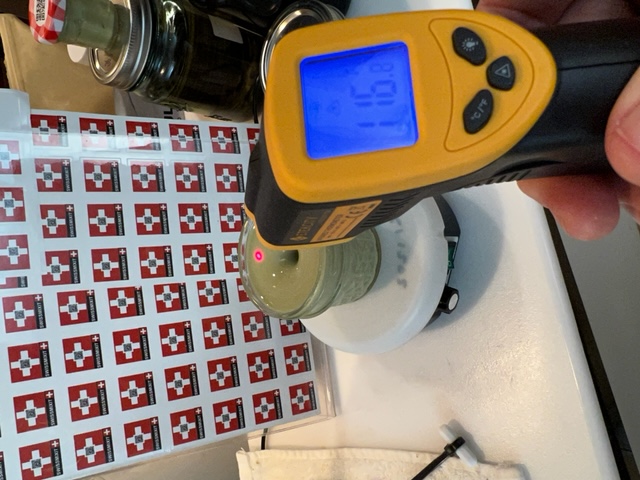
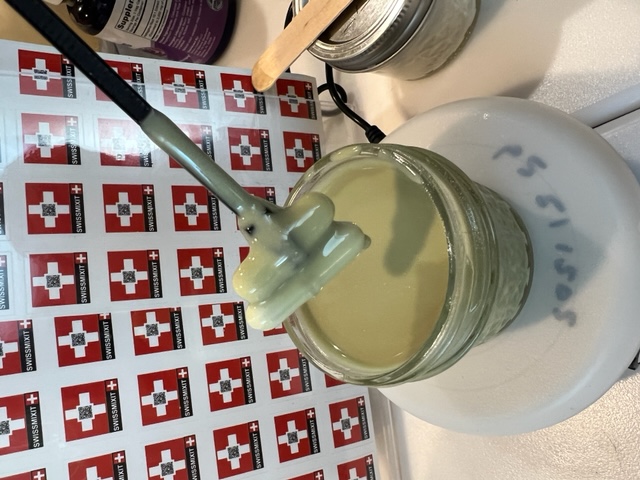
Continue Mixing Continue to increase the mixer speed to maintain a vortex. Once again as the solution cools, it solidifies. The appearance will turn into a lighter color. This stage will take another 10-20 minutes. If you have a thermometer, the temperature will go down to around 115F within 30-40 minutes. As the solution becomes more creamy, the mixer speed needs to be increased to maintain a good vortex. The vortex is the spin, or mixing component, which is necessary for consistent formula and cream.
|
|
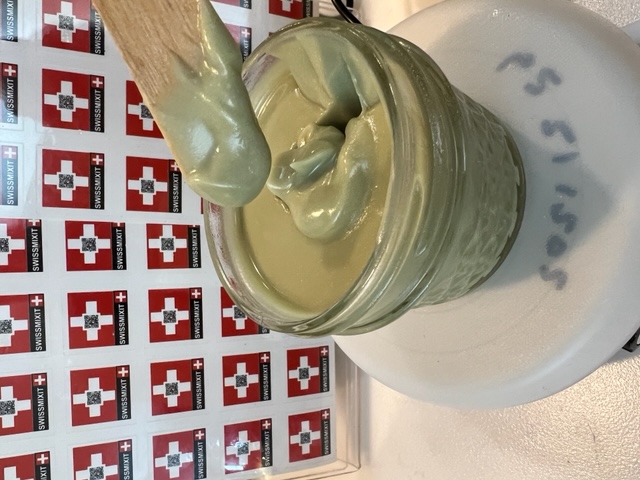
Remove Stir Bar After about 45 minutes, the vortex is almost gone, and the temperature is around 100F. Remove the stir bar, and place a lid on the solution.Let cool. Pro Tip: You can use the cream at any time, but as it cools, it gets creamier.
|
|
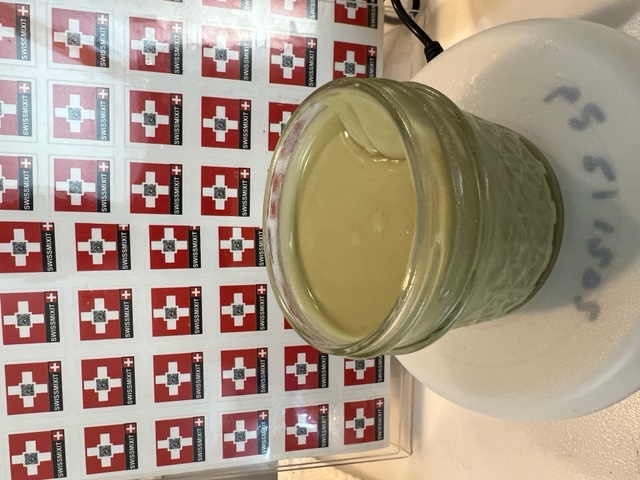
Cool and Enjoy Let the solution cool. You should have a silky, creamy skin lotion. The temperature at this stage will be around 87F after an hour from the start. The mixture is non-greasy, and amazing on the skin. Polynesians use Tamanu, which gives them a younger appearance. It's also good for repairing skin burns, sunburn, and more.
|
|
Experiment with ingredients You can experiment with different oils, fragrances, and organic flowers. Many nutrients can be absorbed through the skin, which makes skin creams a fun and healthy at-home DIY project. Unless you plan on using a lot of skin cream, mix in a smaller 3 oz jar. Oxidation and heat is the enemy of nutrients and skin creams. If you make a large jar of cream, and it takes more than a month to use it, it's more than likely that many of the nutrients will diminish in quality and quantity. This is why commercial skin products use so many chemicals to preserve the nutrients.
|
|
Label We recommend you label your skin cream with the date mixed. You can make fun labels if you have a label printer.
|
Organic Bees Wax Pellets |
Mixer, mixer bar, and solution ready to start |
Bees wax pellets prior to heating |
CONTACT TEL: 608-238-6001 Email: greg@cruisingreview.com | RSS | AMP | PDF | IG |